-
Merit Badges
- Legend to identify Merit Badges
- 1910 British Merit Badges
- Square 1911 - 33
- Wide Crimped 1934 & 35
-
Narrow Tan Crimped 1936 - 42
- Tan Heavyweight Cloth with Silk Embroidery and Printed Back 1936 - 37
- Tan Heavyweight Cloth with Silk Embroidery and Plain Back 1937 - 38
- Tan Lightweight Cloth with Silk Embroidery and Plain Back 1938 - 39
- Tan Lightweight Cloth with Cotton Continuous Loop Embroidery and Plain Back 1939 - 42
- Tan Lightweight Cloth with Cotton Lockstitch Embroidery and Plain Back 1939 - 42
- Blue Background 1942 - 46
- Wartime 1942 - 46
- Khaki Narrow Crimped 1946 - 59
- Green Twill Gauze Back 1960 - 68
- Fully Embroidered Merrowed Edge 1960 - 72
- Unprinted Plastic Back 1972 - 01
- Printed Plastic Back 2002 - Current
-
Merit Badge Paper
- Merit Badge Applications
- Merit Badge Cards
-
Merit Badge Pamphlets
- Type 1 White Cover - Rectangle Drawing On Cover
- Type 2 White Cover 5-375" x 8" Title at Top
- Type 3A Tan Cover - 200 Fifth Avenue
- Type 3B Tan Cover - 2 line address New York City
- Type 3C Tan Cover - 2 line address New York N.Y.
- Type 3D Tan Cover - 1 line address New York N.Y.
- Type 4 Standing Scout Cover
- Type 5A War Cover
- Type 5B Red and White
- Type 6 Photo-Red Cover
- Type 7 Full Photo Cover or Bulls-eye Cover
- Type 8 Full Photo - Green Stripe Cover
- Type 9 Full Photo - Red Stripe Cover
- Type 10A Blue Stripe - Logo above bottom blue stripe - FDL centered
- Type 10B - Blue Stripe in bottom of photo area. FDL to left of text
- Special Covers
- Boy Craft Helps
- Merit Badge Counselor's Guides
-
Youth Position
- Junior Assistant Scoutmaster
- Senior Patrol Leader
- Assistant Senior Patrol Leader
- Patrol Leader
- Assistant Patrol Leader
- Troop Guide
- Scribe
- Quartermaster
- Instructor
- Chaplain Aide
- Den Chief
- Librarian
- Musician
- Webmaster
- Bugler
- Troop Historian
- Troop Representative
- Unit Representative
- Leadership Corps
- Honor Guard
- Leave No Trace Trainer
- Outdoor Ethics Guide
-
Patrol Medallions
- Patrol Medallions Introduction
- Legend to identify Patrol Medallions
- Patrol Shoulder Knot-Ribbons
- Felt Handmade Patrol Medallions
- Square Felt Patrol Medallions
- Round Broadcloth Patrol Medallions
- Red Twill Patrol Medallions
- Multi-Color Cloth Patrol Medallions
- Tan Cloth Patrol Medallions
- Patrol Medallion Back Patches
- Woodbadge Patrol Medallion
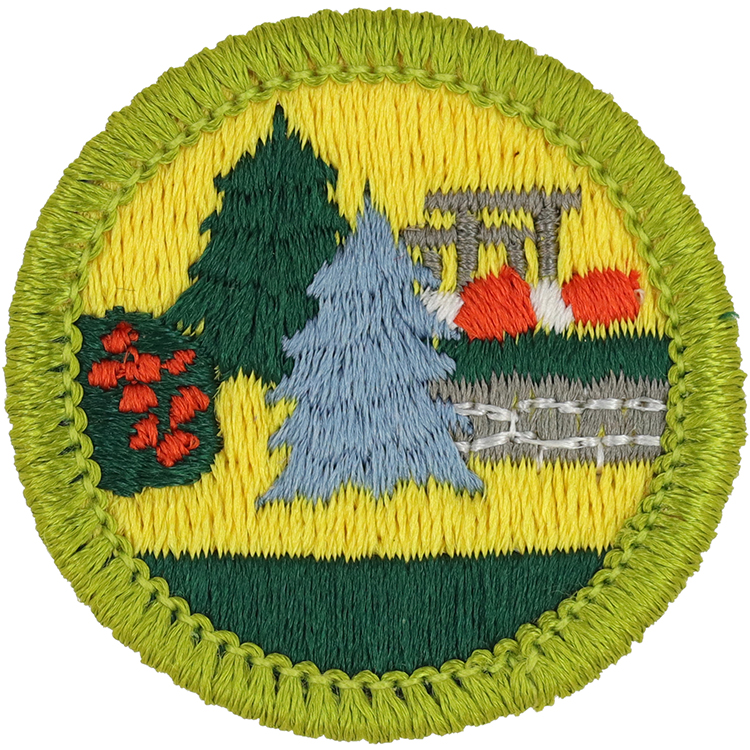
Fig. 1: LanArc-J1-Front
- Embroidery: Rayon thread
- Border: Merrowed
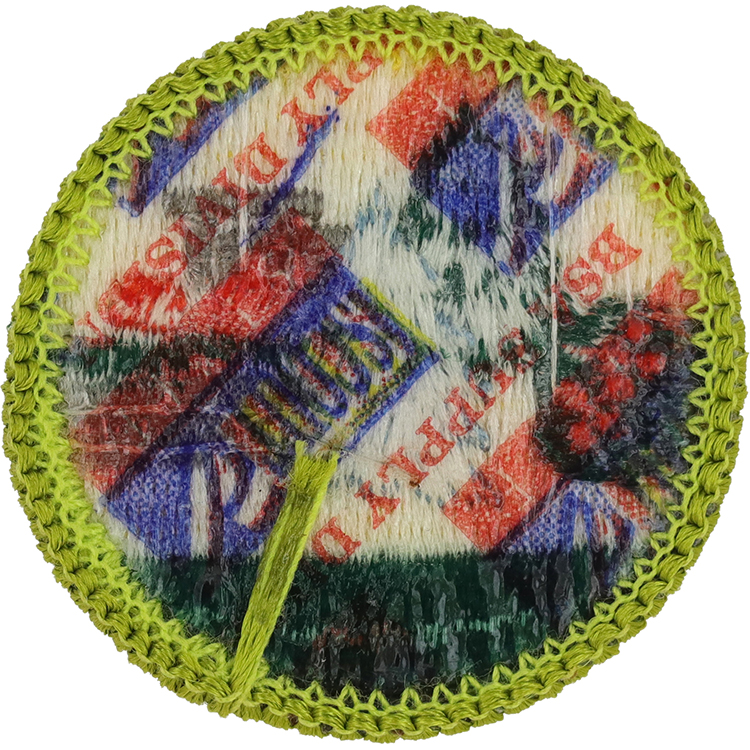
Fig. 2: LanArc-J1-Reverse
- Back: Scout Stuff imprint
Item Name: Landscape Architecture 2002 - 2009
Item ID: LanArc-J1
Collector Rating: 1
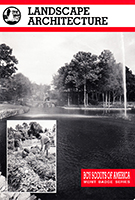
Pamphlets Used to Earn this Badge

Requirements September 1995 until January 2003
1.Describe the work of the following: Landscape architect; landscape contractor, nurseryman; and gardener.
2. Make a drawing (1/8 inch equals 1 foot) of your home grounds Show all buildings such as the house, garage, and barn. (Note: If this is not possible, the Scout can make a drawing of friend's yard).
(a) Make a plan for these grounds. Change walks, drives, walls, fences, and plantings as you wish.
(b) Show flow lines for drainage or surface water.
3. On a tracing of the drawing, prepare a planting plan. Have at least two kinds each of deciduous and evergreen trees and shrubs.
4. Name 10 shrubs, 10 trees, 5 ground covers, 5 perennials, and 5 annuals good for planting in your town. Describe their growth habits and soil and climate needs.
(a) Tell the difference between evergreen and deciduous plants.
(b) Describe the difference between broadleaf and coniferous evergreen plants. Name one of each.
(c) Tell the difference between perennials and annuals.
5. Show how to read topographic maps. Explain the importance of a good drainage plan.
6. Visit a well-landscaped yard, park, or building. Describe how the landscape architect has helped it.
Requirements January 2003 until January 2010
1. Explain the differences between a landscape architect, and a horticulturist, a landscape contractor, and architect, an urban, planner, and a civil engineer. Give an example of the work each might do that is unique to the vocation. How might people in these positions work with a landscape architect?
2. Do ONE of the following:
(a) Visit a landscape architect’s office, or invite a landscape architect to your troop meeting to tell about his or her work. Find out about and discuss the following with your merit badge counselor:
(1) What a landscape architect’s daily work is like
(2) The education one must have to be a professional landscape architect
(3) The methods used in developing a design
(4) The drawing tools and computer equipment used in design
(b) Log on to the American Society of Landscape Architect’s Web site at http;/www.ASLA.org and find out more about the landscape architecture profession and schools that educate landscape architects. Using documents printed from this Web site, report to your counselor what you have learned.
3. Go to a completed landscape project that a landscape architect has designed. Before you visit the site, obtain a plan of the design from the landscape architect if one is available.
4. Make a report in the form of a short talk to your Scout troop on what you found in requirement 3. Discuss the following:
(a) Tell whether the design had separate spaces, a clear path system, and sun and shade variety.
(b) Tell about the places to sit, eat, or park a car.
(c) Tell whether you were always comfortable and protected.
(d) Tell about some of the trees, shrubs, and ground covers used in the design.
5. Identify five shrubs, five trees, and one ground cover, being sure that you select examples of different shapes, sizes, and textures. With the help of your counselor or a local nursery, choose plants that will grow in your area. Bring pictures of the different planting materials or, if possible, examples of their branches, leaves, or flowers, to a troop meeting. Be prepared to tell how you might use each in the design of a landscape.
6. Look at and study a place of worship or school grounds to find the place where most people arrive by bus or car. Show you can do the following:
(a) Using a measuring tape, measure and draw the entry and its nearby area using a scale of 1/8 inch equal to 1 foot on a 11-by-17-inch piece of paper. Be sure to include the driveway and the wall and door where people enter the school or place of worship. Indicate any sidewalks, structures, trees, and plants within the study area. Make a copy of this plan to save the original. Do the next two items on copies.
(b) On one copy, use directional arrows to indicate where the water drains across the site, where ditches occur, and where water stands for a longer period of time.
(c) Decide how you can make the place safer and more comfortable for those using it. Redesign the area on another copy of the plan. You may want to include new walks, covered waiting areas, benches, space-defining plantings of trees and shrubs, and drainage structures.