-
Merit Badges
- Legend to identify Merit Badges
- 1910 British Merit Badges
- Square 1911 - 33
- Wide Crimped 1934 & 35
-
Narrow Tan Crimped 1936 - 42
- Tan Heavyweight Cloth with Silk Embroidery and Printed Back 1936 - 37
- Tan Heavyweight Cloth with Silk Embroidery and Plain Back 1937 - 38
- Tan Lightweight Cloth with Silk Embroidery and Plain Back 1938 - 39
- Tan Lightweight Cloth with Cotton Continuous Loop Embroidery and Plain Back 1939 - 42
- Tan Lightweight Cloth with Cotton Lockstitch Embroidery and Plain Back 1939 - 42
- Blue Background 1942 - 46
- Wartime 1942 - 46
- Khaki Narrow Crimped 1946 - 59
- Green Twill Gauze Back 1960 - 68
- Fully Embroidered Merrowed Edge 1960 - 72
- Unprinted Plastic Back 1972 - 01
- Printed Plastic Back 2002 - Current
-
Merit Badge Paper
- Merit Badge Applications
- Merit Badge Cards
-
Merit Badge Pamphlets
- Type 1 White Cover - Rectangle Drawing On Cover
- Type 2 White Cover 5-375" x 8" Title at Top
- Type 3A Tan Cover - 200 Fifth Avenue
- Type 3B Tan Cover - 2 line address New York City
- Type 3C Tan Cover - 2 line address New York N.Y.
- Type 3D Tan Cover - 1 line address New York N.Y.
- Type 4 Standing Scout Cover
- Type 5A War Cover
- Type 5B Red and White
- Type 6 Photo-Red Cover
- Type 7 Full Photo Cover or Bulls-eye Cover
- Type 8 Full Photo - Green Stripe Cover
- Type 9 Full Photo - Red Stripe Cover
- Type 10A Blue Stripe - Logo above bottom blue stripe - FDL centered
- Type 10B - Blue Stripe in bottom of photo area. FDL to left of text
- Special Covers
- Boy Craft Helps
- Merit Badge Counselor's Guides
-
Youth Position
- Junior Assistant Scoutmaster
- Senior Patrol Leader
- Assistant Senior Patrol Leader
- Patrol Leader
- Assistant Patrol Leader
- Troop Guide
- Scribe
- Quartermaster
- Instructor
- Chaplain Aide
- Den Chief
- Librarian
- Musician
- Webmaster
- Bugler
- Troop Historian
- Troop Representative
- Unit Representative
- Leadership Corps
- Honor Guard
- Leave No Trace Trainer
- Outdoor Ethics Guide
-
Patrol Medallions
- Patrol Medallions Introduction
- Legend to identify Patrol Medallions
- Patrol Shoulder Knot-Ribbons
- Felt Handmade Patrol Medallions
- Square Felt Patrol Medallions
- Round Broadcloth Patrol Medallions
- Red Twill Patrol Medallions
- Multi-Color Cloth Patrol Medallions
- Tan Cloth Patrol Medallions
- Patrol Medallion Back Patches
- Woodbadge Patrol Medallion

Fig. 1: Photog-H5-Front
- Embroidery: Rayon thread
- Border: Merrowed
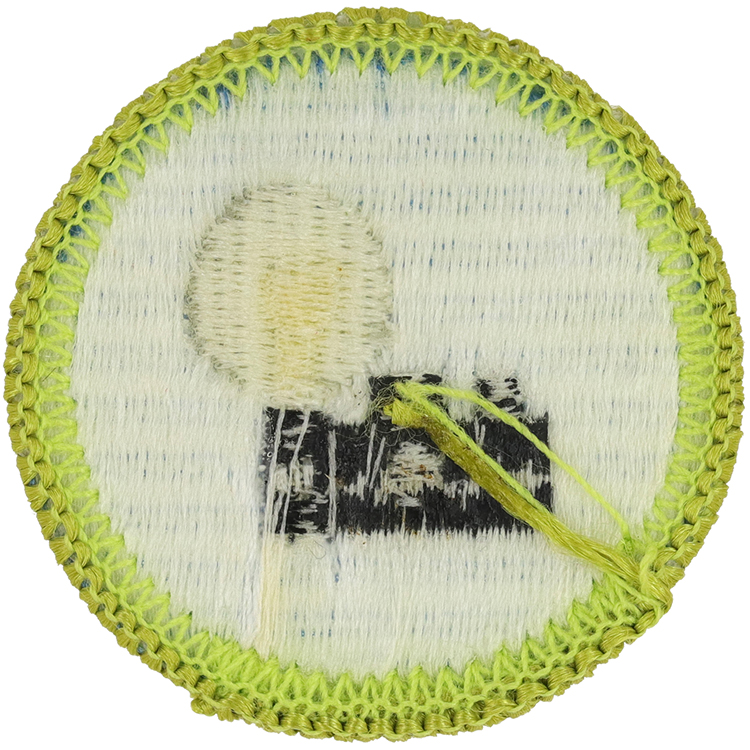
Fig. 2: Photog-H5-Reverse
- Back: Molded plastic
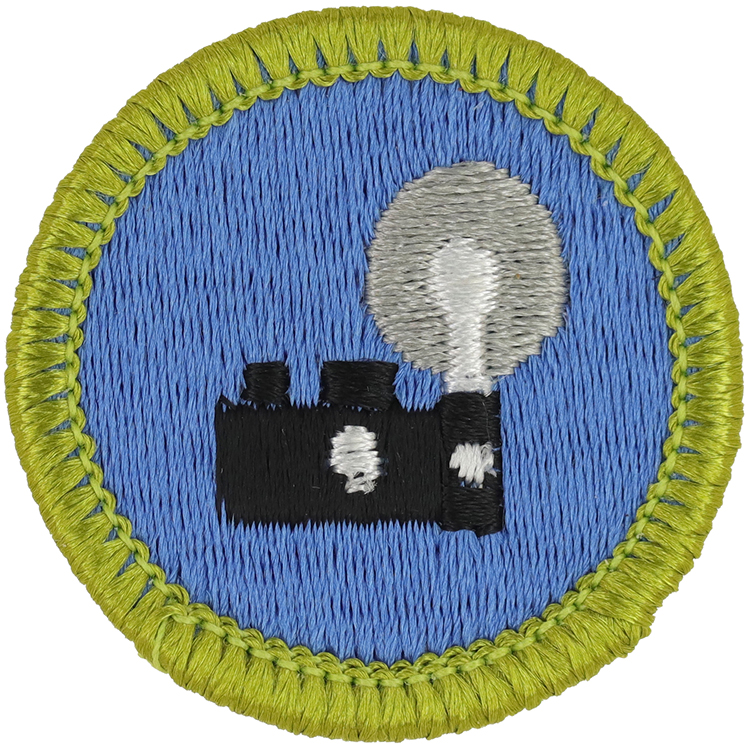
Fig. 3: Photog-H5-mve1-front
- Minor variation: Yellow border
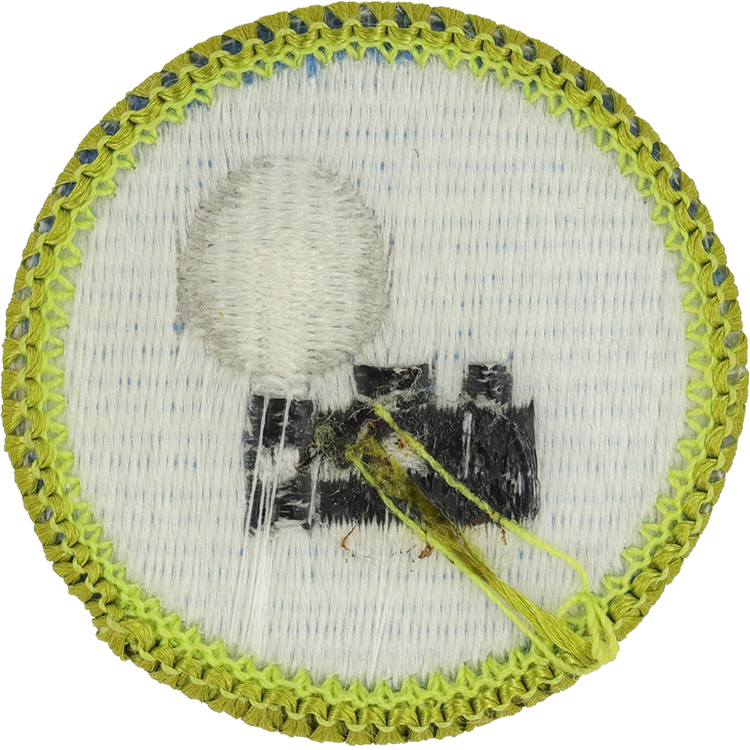
Fig. 4: Photog-H5-mve1-reverse
- Back: Molded plastic
Item Name: Photography 1990 - 2002
Item ID: Photog-H5
Collector Rating: 1
Pamphlets Used to Earn this Badge

Requirements August 1982 until September 1993
1. Tell what makes a good picture. Show your understanding of these as you take pictures for requirement 2.
2. Do the following:
(a) Take pictures illustrating at least eight of the following picture-taking techniques. Use comparisons to illustrate your points.
(1) Camera steadiness.
(2) Rule of thirds.
(3) Level horizon.
(4) Moving in close_-fill the frame.
(5) Framing.
(6) Direction of light_-front, side, and backlighting.
(7) Quality of light_-flat light, bright sunlight and time of day.
(8) Point of view_-eye level, high and low angle.
(9) Leading lines.
(10) Flash_-proper range and reflective surfaces.
(b) Do one of the following, utilizing techniques of planning a photo report. Start with planning cards; then do your photography and editing, and complete the requirement by presenting your report in an organized manner to your counselor.
(1) Expose a roll of print film and select 5 to 10 good pictures for your picture story. Mount the pictures on a large art board or in a photo album.
(2) Expose 50 feet of movie film and edit it to at least 25 feet of quality movies that tell your story.
(3) Expose a roll of slide film and select 10 or more good slides to tell your story.
3. Explain how photographic film is processed and tell how black-and-white prints are made, or process and print your own pictures and show your counselor, explaining the steps you took.
4. Do the following:
(a) Explain to your counselor the basic parts common to all cameras using a diagram you prepared.
(b) Explain common photographic terms such as lens, shutter, viewfinder, camera angle, exposure, negative, transparency, f/number, and planning card.
5. Describe jobs in photography.
Requirements September 1993 until June 1994
1. Tell what makes a good picture. Show your understanding of these as you take pictures for requirement 2.
2. Do the following:
(a) Take pictures illustrating at least eight of the following picture-taking techniques. Use comparisons to illustrate your points.
(1) Camera steadiness.
(2) Rule of thirds.
(3) Level horizon.
(4) Moving in close_-fill the frame.
(5) Framing.
(6) Direction of light_-front, side, and backlighting.
(7) Quality of light_-flat light, bright sunlight, and time of day.
(8) Point of view_-eye level, high and low angle.
(9) Use of leading lines.
(10) Flash_-proper range and reflective surfaces.
(b) Do one of the following, utilizing techniques of planning a photo report. Start with planning cards; then do your photography and editing, and complete the requirement by presenting your report in an organized manner to your counselor.
(1) Expose a roll of print film and select 5 to 10 good pictures for your picture story. Mount the pictures on a large art board or in a photo album.
(2) Expose 50 feet of movie film and edit it to at least 25 feet of quality movies that tell your story.
(3) Expose a roll of slide film and select 10 or more good slides to tell your story.
3. Explain how photographic film is processed and tell how black-and-white prints are made, or process and print your own pictures and show your counselor, explaining the steps you took.
4. Do the following:
(a) Explain to your counselor the basic parts common to all cameras using a diagram you prepared.
(b) Explain common photographic terms such as lens, shutter, viewfinder, camera angle, exposure, negative, transparency, f-number, and planning card.
5. Describe jobs in photography.
Requirements June 1994 until January 2006
1. Tell what makes a good picture. Show your understanding of these as you take pictures for requirement 2.
2. Do the following:
(a) Take pictures illustrating at least eight of the following picture-taking techniques. Use comparisons to illustrate your points.
(1) Camera steadiness.
(2) Rule of thirds.
(3) Level horizon.
(4) Moving in close_-fill the frame.
(5) Framing.
(6) Direction of light_-front, side, and backlighting.
(7) Quality of light_-flat light, bright sunlight, and time of day.
(8) Point of view_-eye level, high and low angle.
(9) Use of leading lines.
(10) Flash_-proper range and reflective surfaces.
(b) Do one of the following, utilizing techniques of planning a photo report. Start with planning cards; then do your photography and editing, and complete the requirement by presenting your report in an organized manner to your counselor.
(1) Expose a roll of print film and select 5 to 10 good pictures for your picture story. Mount the pictures on a large art board or in a photo album.
(2) Expose a roll of slide film and select 10 or more good slides to tell your story.
3. Explain how photographic film is processed and tell how black-and-white prints are made, or process and print your own pictures and show your counselor, explaining the steps you took.
4. Do the following:
(a) Explain to your counselor the basic parts common to all cameras using a diagram you prepared.
(b) Explain common photographic terms such as lens, shutter, viewfinder, camera angle, exposure, negative, transparency, f-number, and planning card.
5. Describe jobs in photography.