-
Merit Badges
- Legend to identify Merit Badges
- 1910 British Merit Badges
- Square 1911 - 33
- Wide Crimped 1934 & 35
-
Narrow Tan Crimped 1936 - 42
- Tan Heavyweight Cloth with Silk Embroidery and Printed Back 1936 - 37
- Tan Heavyweight Cloth with Silk Embroidery and Plain Back 1937 - 38
- Tan Lightweight Cloth with Silk Embroidery and Plain Back 1938 - 39
- Tan Lightweight Cloth with Cotton Continuous Loop Embroidery and Plain Back 1939 - 42
- Tan Lightweight Cloth with Cotton Lockstitch Embroidery and Plain Back 1939 - 42
- Blue Background 1942 - 46
- Wartime 1942 - 46
- Khaki Narrow Crimped 1946 - 59
- Green Twill Gauze Back 1960 - 68
- Fully Embroidered Merrowed Edge 1960 - 72
- Unprinted Plastic Back 1972 - 01
- Printed Plastic Back 2002 - Current
-
Merit Badge Paper
- Merit Badge Applications
- Merit Badge Cards
-
Merit Badge Pamphlets
- Type 1 White Cover - Rectangle Drawing On Cover
- Type 2 White Cover 5-375" x 8" Title at Top
- Type 3A Tan Cover - 200 Fifth Avenue
- Type 3B Tan Cover - 2 line address New York City
- Type 3C Tan Cover - 2 line address New York N.Y.
- Type 3D Tan Cover - 1 line address New York N.Y.
- Type 4 Standing Scout Cover
- Type 5A War Cover
- Type 5B Red and White
- Type 6 Photo-Red Cover
- Type 7 Full Photo Cover or Bulls-eye Cover
- Type 8 Full Photo - Green Stripe Cover
- Type 9 Full Photo - Red Stripe Cover
- Type 10A Blue Stripe - Logo above bottom blue stripe - FDL centered
- Type 10B - Blue Stripe in bottom of photo area. FDL to left of text
- Special Covers
- Boy Craft Helps
- Merit Badge Counselor's Guides
-
Youth Position
- Junior Assistant Scoutmaster
- Senior Patrol Leader
- Assistant Senior Patrol Leader
- Patrol Leader
- Assistant Patrol Leader
- Troop Guide
- Scribe
- Quartermaster
- Instructor
- Chaplain Aide
- Den Chief
- Librarian
- Musician
- Webmaster
- Bugler
- Troop Historian
- Troop Representative
- Unit Representative
- Leadership Corps
- Honor Guard
- Leave No Trace Trainer
- Outdoor Ethics Guide
-
Patrol Medallions
- Patrol Medallions Introduction
- Legend to identify Patrol Medallions
- Patrol Shoulder Knot-Ribbons
- Felt Handmade Patrol Medallions
- Square Felt Patrol Medallions
- Round Broadcloth Patrol Medallions
- Red Twill Patrol Medallions
- Multi-Color Cloth Patrol Medallions
- Tan Cloth Patrol Medallions
- Patrol Medallion Back Patches
- Woodbadge Patrol Medallion
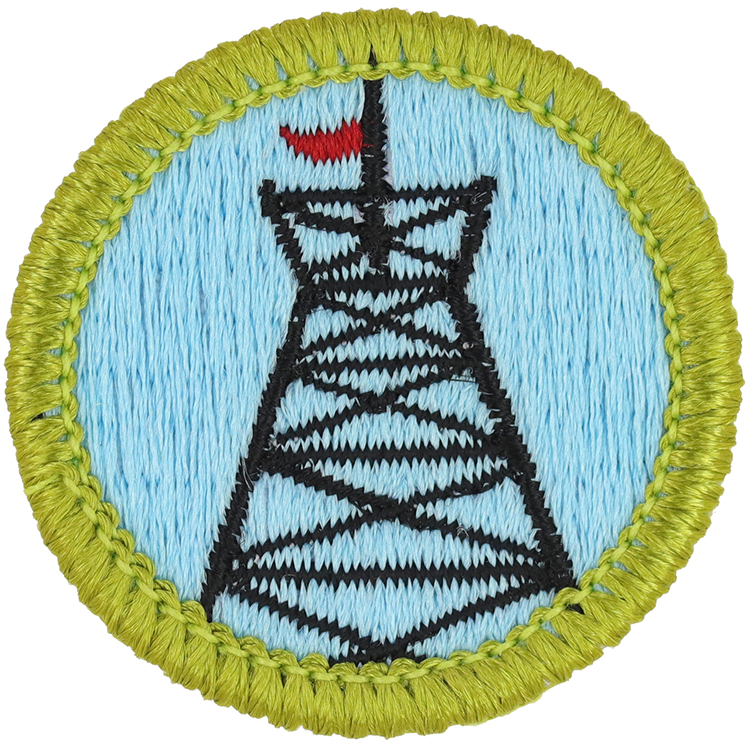
Fig. 1: Pionee-H5-Front
- Embroidery: Rayon thread
- Border: Merrowed

Fig. 2: Pionee-H5-Reverse
- Back: Molded plastic

Fig. 3: Pionee-H5-mve1-front
- Minor variation: Yellow border
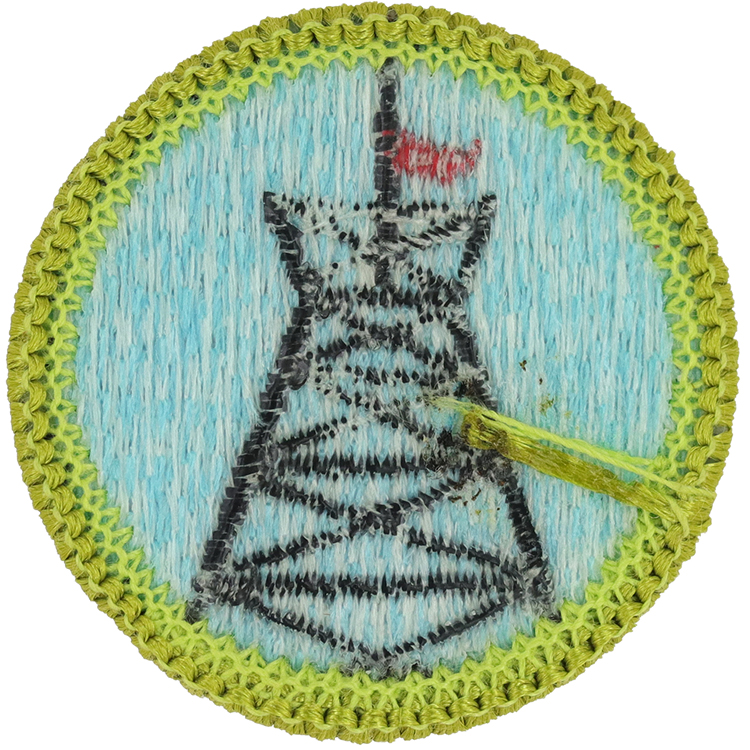
Fig. 4: Pionee-H5-mve1-reverse
- Back: Molded plastic
Item Name: Pioneering 1990 - 2002
Item ID: Pionee-H5
Collector Rating: 1
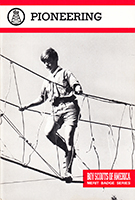
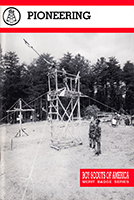
Pamphlets Used to Earn this Badge
Requirements January 1975 until September 1993
1. Hand coil a length of rope.
2. Describe the following:
(a) Kinds of rope.
(b) Care of rope.
(c) Weakening effect of knots.
3. Tie 10 knots and hitches. Explain how to use them in pioneering.
4. Make a short, end, and eye splice.
5. Build a machine to make rope. Using twine or cord, make a 6-foot rope 1/2 inch or more in diameter. Whip the ends.
6. Make and show one device for moving heavy logs or rocks. Use rope and natural materials. OR use rope to build a conveyor cable system for hauling materials over a ravine or up a steep hillside.
7. Build ONE of the following: log bridge, signal tower, monkey bridge, shelter, or raft.* Take down after use and inspection. Follow an approved design. Use square, diagonal, and shear lashings.
* This may be done in a camp pioneering area using camp poles. Live trees should never be cut without permission of the property owners. Help from another Scout may be used.
Requirements September 1993 until January 2006
1. Demonstrate how to coil and throw a 40-foot length of 1/4-inch rope
2. Present five different rope samples, of any size or material. Explain the characteristics of each type of rope_-its strength, mildew resistance, durability, and stretch. Explain where and how each type of rope can be used in pioneering work.
3. Demonstrate how to tie the following seven basic knots: square knot, timber hitch, clove hitch, bowline, sheepshank, sheet bend, and roundturn with two half hitches. Also select five more knots found in the Pioneering merit badge pamphlet. Tie each one for the examiner, and tell where it could be used in pioneering, camping, or other Scout activities.
4. Demonstrate how to make the back splice, eye splice, and short splice using 1/4-inch three strand rope.
5. Construct a device or machine to make rope. Then use the device with binder twine to make a 6-foot length of rope consisting of three strands, each having three yarns. Also demonstrate one method of whipping the end of the rope.
6. Build a three-two-one or a log-and-stakes anchor using pioneering stakes. Build the anchor at a size suitable to anchor one end of a monkey bridge.
7. Demonstrate the use of a rope tackle to a weight of 25 pounds. Pull a log at least 6 inches in diameter and 6 feet long with the tackle. Use the tackle to put a strain on a line.
8. By yourself, build an H-frame trestle with ropes and spars using square and diagonal lashings. Demonstrate how to tie two spars together using a west country shear lashing.
9. With a group of Scouts, build a pioneering project. Before building, present a rough sketch of the project and a list of the ropes and spars needed to build it. (Note: This requirement may be done at summer camp, district or council events, or on a troop camp outing.)