-
Merit Badges
- Legend to identify Merit Badges
- 1910 British Merit Badges
- Square 1911 - 33
- Wide Crimped 1934 & 35
-
Narrow Tan Crimped 1936 - 42
- Tan Heavyweight Cloth with Silk Embroidery and Printed Back 1936 - 37
- Tan Heavyweight Cloth with Silk Embroidery and Plain Back 1937 - 38
- Tan Lightweight Cloth with Silk Embroidery and Plain Back 1938 - 39
- Tan Lightweight Cloth with Cotton Continuous Loop Embroidery and Plain Back 1939 - 42
- Tan Lightweight Cloth with Cotton Lockstitch Embroidery and Plain Back 1939 - 42
- Blue Background 1942 - 46
- Wartime 1942 - 46
- Khaki Narrow Crimped 1946 - 59
- Green Twill Gauze Back 1960 - 68
- Fully Embroidered Merrowed Edge 1960 - 72
- Unprinted Plastic Back 1972 - 01
- Printed Plastic Back 2002 - Current
-
Merit Badge Paper
- Merit Badge Applications
- Merit Badge Cards
-
Merit Badge Pamphlets
- Type 1 White Cover - Rectangle Drawing On Cover
- Type 2 White Cover 5-375" x 8" Title at Top
- Type 3A Tan Cover - 200 Fifth Avenue
- Type 3B Tan Cover - 2 line address New York City
- Type 3C Tan Cover - 2 line address New York N.Y.
- Type 3D Tan Cover - 1 line address New York N.Y.
- Type 4 Standing Scout Cover
- Type 5A War Cover
- Type 5B Red and White
- Type 6 Photo-Red Cover
- Type 7 Full Photo Cover or Bulls-eye Cover
- Type 8 Full Photo - Green Stripe Cover
- Type 9 Full Photo - Red Stripe Cover
- Type 10A Blue Stripe - Logo above bottom blue stripe - FDL centered
- Type 10B - Blue Stripe in bottom of photo area. FDL to left of text
- Special Covers
- Boy Craft Helps
- Merit Badge Counselor's Guides
-
Youth Position
- Junior Assistant Scoutmaster
- Senior Patrol Leader
- Assistant Senior Patrol Leader
- Patrol Leader
- Assistant Patrol Leader
- Troop Guide
- Scribe
- Quartermaster
- Instructor
- Chaplain Aide
- Den Chief
- Librarian
- Musician
- Webmaster
- Bugler
- Troop Historian
- Troop Representative
- Unit Representative
- Leadership Corps
- Honor Guard
- Leave No Trace Trainer
- Outdoor Ethics Guide
-
Patrol Medallions
- Patrol Medallions Introduction
- Legend to identify Patrol Medallions
- Patrol Shoulder Knot-Ribbons
- Felt Handmade Patrol Medallions
- Square Felt Patrol Medallions
- Round Broadcloth Patrol Medallions
- Red Twill Patrol Medallions
- Multi-Color Cloth Patrol Medallions
- Tan Cloth Patrol Medallions
- Patrol Medallion Back Patches
- Woodbadge Patrol Medallion

Fig. 1: Progra-K-Front
- Embroidery: Rayon thread
- Border: Merrowed
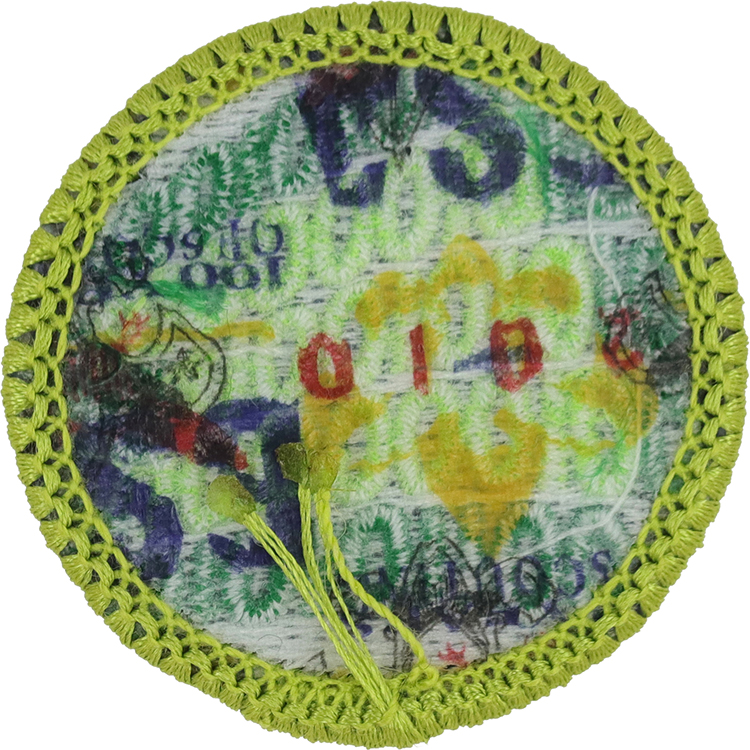
Fig. 2: Progra-K-Reverse
- Back: 100th Anniversary imprint
Item Name: Programming 2014
Item ID: Progra-K
Collector Rating: 1
Pamphlets Used to Earn this Badge

Requirements January 2014 until January 2017
1. Do the following:
- Explain to your counselor the most likely hazards you might encounter while participating in pioneering activities and what you should do to anticipate, help prevent, mitigate, and respond to these hazards.
- Discuss the prevention of, and first-aid treatment for, injuries and conditions that could occur while working on pioneering projects, including cuts, scratches, insect bites and stings, rope burns, hypothermia, dehydration, heat exhaustion, heatstroke, sunburn, and falls.
2. Do the following:
- Successfully complete Tenderfoot requirements 4a and 4b and First Class requirement 7a, 7b, and 7c. (These are the rope-related requirements)
- Tie the following: square knot, bowline, sheepshank, sheet bend, and roundturn with two half hitches.
- Demonstrate the following: tripod and round lashings
3. Explain why it is useful to be able to throw a rope, then demonstrate how to coil and throw a 40-foot length of ¼ - or 3/8- inch rope. Explain how to improve your throwing distance by adding weight to the end of your rope.
4. Explain the differences between synthetic ropes and natural-fiber ropes. Discuss which types of rope are suitable for pioneering work and why. Include the following in your discussion: Breaking strength, safe working loads, and the care and storage of ropes.
5. Explain the uses for the back splice, eye splice, and short splice. Using ¼ - or 3/8-inch three stranded rope, demonstrate how to form each splice.
6. Using a rope-making device or machine, make a rope at least 6 feet long consisting of three strands, each having 3 yarns.
7. Build a scale model of a signal tower or a monkey bridge. Correctly anchor the model using either the 1-1-1 anchoring system or the log and stake anchoring method. Describe the design of your project and explain how the anchoring system works.
8. Demonstrate the use of a rope tackle by lifting a weight of 25 pounds and pulling a log at least 6 inches in diameter and 6 feet long with the tackle. Use the tackle to put tension on a line. Explain the advantages and limitations of using a rope tackle. In your explanation, describe the potential damage that friction can do to a rope.
9. By yourself, build a A-trestle OR X-trestle OR H-trestle using square and diagonal lashings. Explain the application of the trestle you build. Demonstrate how to tie two spars together using a sear lashing.
10. With a group of Scouts OR on your own, select a pioneering project and get your counselor’s approval before you begin building. Your project must not result in anyone reaching a height of greater than 6 feet off the ground. With your counselor’s guidance, create a rough sketch of the project. Make a list of the ropes and spars needed, then build the project. (Note: This requirement may be done at summer camp, at district or council events, or on a troop camp outing.)